
The Leah S Blog Spot
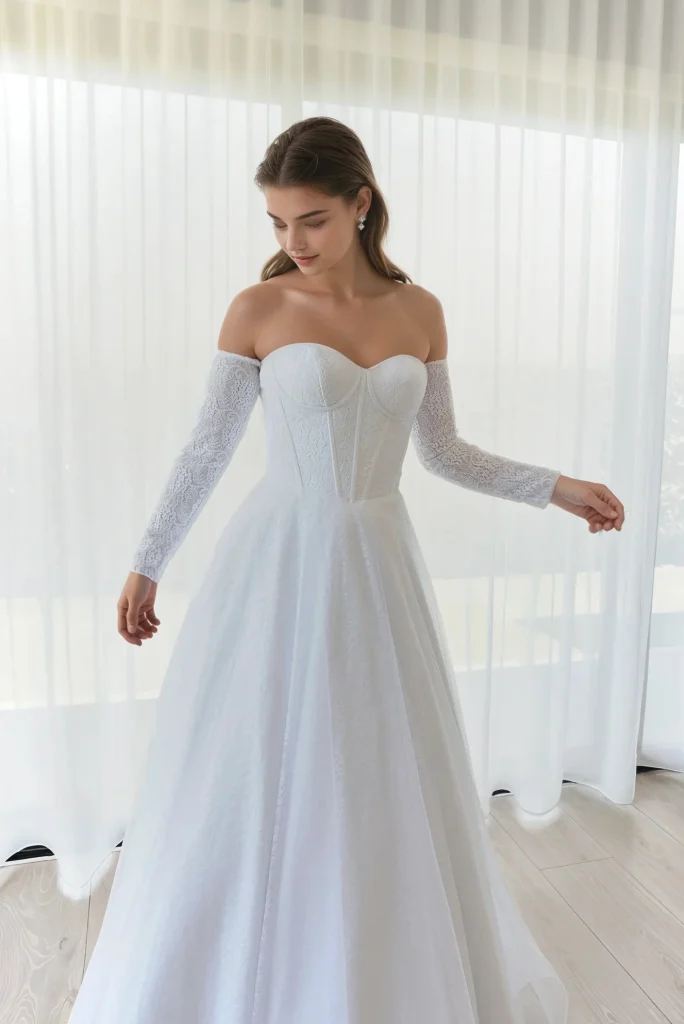
Shopping for Wedding Dresses in Melbourne? Before You Choose Strapless, Read This
The Leah S Blog Spot
Deb dresses 2026: The trends everyone will copy (and the ones that’ll make you a TikTok star)

The Leah S Blog Spot
To drink or not to drink in store, that is the question?
The Leah S Blog Spot